How to Replace Kitchen Worktops?

Last Updated on June 20, 2023
Choosing the right Kitchen Worktops will be one of the most important decisions you will have to make whilst putting your Kitchen together. Your worktops have to be hard-wearing, hygienic and beautiful – they will be the face and more importantly – the workstation of your Kitchen. Naturally, that is why they get the highest level of action and the highest level of wear and tear.
For those reasons, your kitchen worktops might often degrade quicker compared to your kitchen units and when they do, you could easily refresh your kitchen by simply changing your worktops. In this guide, we will discuss how to remove old worktops without damaging your existing cabinets and how to install your replacement worktops in a few easy steps!
Removing existing Kitchen Worktops
Let us outline the steps we need to take to remove your existing Kitchen Worktops.
- Disconnect fixtures, water and gas supply lines
- Disconnect the drain line under the sink
- Disconnect the Hob: IMPORTANT: We recommend getting a Gas Engineer and an Electrician to do that for you.
Note: If you have a free-standing range cooker, you won’t need to disconnect it. - Remove the Sink
- Remove the Upstands
- Remove the Worktops
- Check the condition of the Base Units
- Install your Replacement Kitchen Worktops
1. Disconnect Fixtures, water and gas supply lines
Use an adjustable wrench to disconnect the water lines to the sink and the gas lines to the hob. Turn the valve clockwise to bring it to an off position. Open your tap and drain the water in the system.
2. Disconnect the drain line under the sink:
Identify the “U” or “J” shaped pipe (trap) with the large nut which connect to the sink’s main drain. Use an adjustable wrench to loosen the large nut and disconnect the sink’s drain.
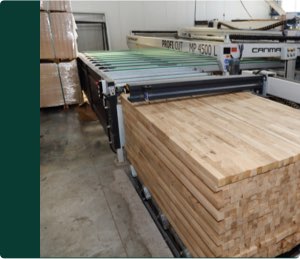
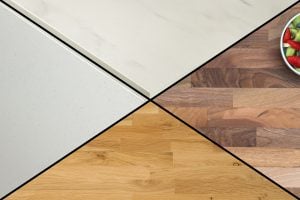
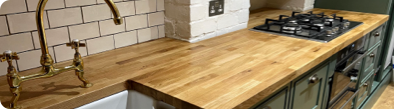
Check out our Oak worktops
Shop now
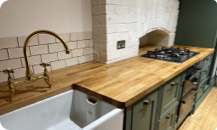
Check out our Oak worktops
Shop now
3. Disconnect the Hob
You will need the support of a professional Electrician and Gas Engineer to disconnect the hob from the main gas and electricity supply. You can skip this step if you have a Freestanding Range Cooker.
4. Remove the Sink
The sink is usually held onto the worktop with a combination of silicone adhesive and brackets. Start by loosening the brackets which are under the worktop. The only thing that is now holding the sink is the adhesive. Use a paint scraper or a putty knife to break the silicone connection between the sink and the worktop by positioning it in between and driving it inwards with a few hammer taps. Repeat this along all edges of the sink.
You can now use a chisel or a wrecking bar to apply some pressure and gently lift the sink – this should now help you break any remaining adhesive connection and then lift the sink out of the worktop.
Be careful not to damage the sink if you are intending to re-use it with your new worktops.
5. Remove the Upstands
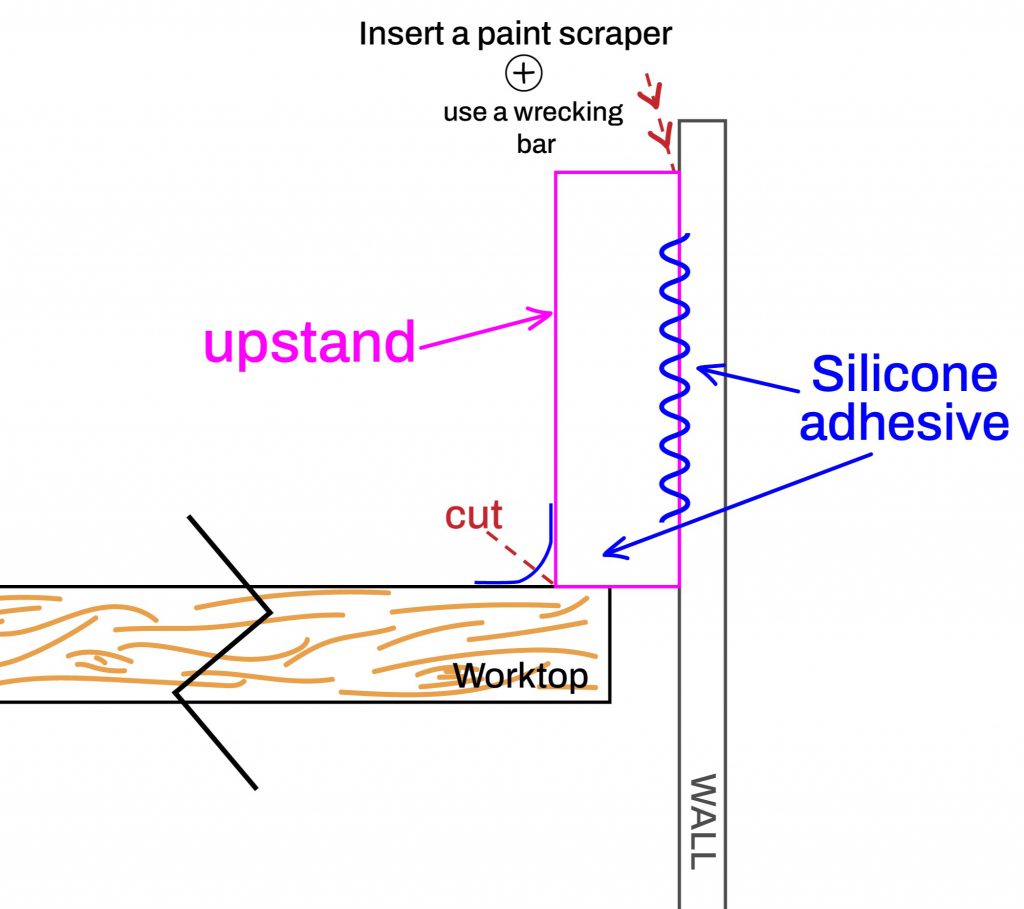
Most kitchens consist of worktops and matching upstands. The upstands are attached to the wall and sealed on the edges with silicone adhesive. Use a carpenter’s retractable knife to cut through the bead of silicone on the parameters of the upstand. Then place a paint scraper or putty knife between the upstand and the wall and drive it downwards with a few gentle hammer taps. Repeat this along the length of the worktop to weaken the adhesive connection and then use a roughneck wrecking bar to carefully separate the upstand from the wall.
6. Remove the Worktop
Important: Our end goal is to remove our worktops without damaging our existing cabinets. Removing kitchen worktops is a fairly easy task, as long as the correct instructions are followed.
Now that the sink, the hob and the upstands are removed, it is time to address the worktop.
Begin by removing as many things from the worktop and the kitchen units as possible. You will need to pull out all drawers and remove any cookware or appliances from within. Clear access to all kitchen units below the worktop is necessary.
Wooden Worktops and Laminate worktops are usually attached to the base units with screws, but in some cases with larger worktops, a combination of silicone adhesives and screws might have been used.
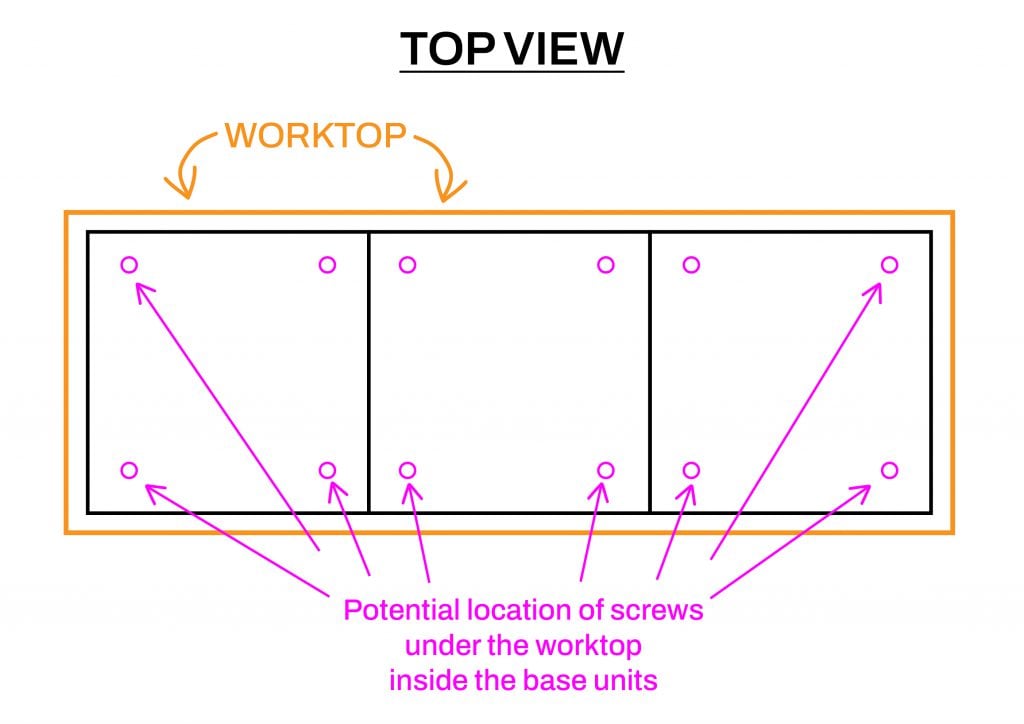
Identify the location of the screws. Refer to Fig. 2 on the right to see potential locations of screws to ensure you do not miss any. Using a screwdriver loosen and remove the screws.
If you are removing wooden worktops, you will most likely find that angle brackets and washers had been used to connect the base unit to the worktop, please do not dispose of them as you will need to use them for your new set of wooden tops.
You should now be able to remove your worktops from the base units. Beware of the weight, we recommend seeking help in handling them.
Larger island worktops may be attached via a combination of screw and silicone. Once you remove the screws, position your paint scraper between the worktop and the base unit and apply inward pressure to break the connection. Repeat this around the entire parameter of the worktop and then use a roughneck wrecking bar to carefully lift up the worktop and break the remaining silicone. You should now be able to lift up and remove your island worktop.
Now you are ready to install your new worktops.
7. Check the condition of your kitchen cabinets.
Prior to installing your new worktops, make sure that your base units are in good condition and are able to carry the weight of your new worktops. Occasionally, water seepage gets inside the composite fiberboard of the base units and degrades the material and hence making it not fit for re-use.
As long as you are satisfied with the condition of the existing units, you can continue the installation of your replacement worktops.
8. Installing your Replacement Worktops
The most important step in this stage is carefully measuring your old worktops and putting the dimensions on a diagram. Please refer to Fig.3 below as an example diagram showing the layout and all the important dimensions that are needed.
Thereafter, you can forward the diagram to our sales team ([email protected]) with your choice of a kitchen worktop and we can manufacture your replacement tops precise to millimetre, fully oiled, ready to install and deliver on the day of your installation. Alternatively, you can also visit our Custom Worktop Builder and input all your information. Once delivered will only need to slot your replacement worktops in and anchor them to your old base units.
When your replacement kitchen worktops arrive you will need to use screws, slotted angle brackets and washer to attach your worktop back to the original base units.
Installation Steps for Replacement Worktops:
- Make sure both sides of the worktop are oiled (wooden worktops only)
- Leave appropriate expansion gaps (4-5mm) all around the worktop
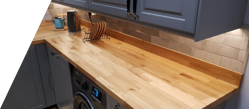
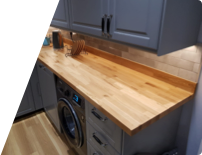
- Use a heat-reflective sheet to protect the worktop from any sources of heat, cold or moisture. For example: washing machines, dishwashers, microwaves, ovens, exposed brickwork, etc.
- Use angle brackets to attach your worktop to the base unit
If you want to learn more about the installation instructions, please refer to our Ultimate Installation Guide and if you want to learn about maintaining and caring for your worktop, please refer to our Maintenance and Care Guide.
We hope that you found this guide on replacement worktops useful. If you have any further questions, please do not hesitate to contact us at [email protected] or on 01727 260688, we would be happy to hear from you.
If you have any questions about anything worktop related, please do not hesitate to
get in touch with us!
You can find us at 01727260688 or [email protected]
https://houseofworktops.co.uk/
Enjoy your kitchen and wood worktops!
For additional topics please check the links below:
1) How to Avoid a Kitchen Makeover with Replacement Kitchen Worktops?
2) What are the toughest worktops?
3) How to repair a scratch on a Wooden Worktop?
4) Pros and Cons of Wood Worktops
5) Kitchen Worktop Height: Everything You Need To Know
7) How to Store Wood Worktops?
8) Worktop Installation Guide
9) Care & Maintenance Guide for Wood Worktops
Antonia Dragolova